I’ll be honest — I stopped buying commercial toilet cleaners years ago, and I haven’t looked back since. What started as a small experiment with baking soda and citric acid has now become one of the most effective cleaning routines in my home. If you’re tired of spending money on harsh chemical products or just want a safer, greener alternative, this guide to safe DIY toilet cleaner will show you everything you need to know.
From simple recipes and storage tips to a side-by-side comparison with store-bought options, this article covers it all. By the end, you’ll not only know how to make powerful fizzing tablets for pennies, but you’ll also understand why they work so well — and how to make them last.
Why Choose a DIY Toilet Cleaner?
There’s a lot to love about store-bought toilet cleaners — they’re quick, convenient, and readily available. But they also come with downsides: many contain harsh chemicals, strong synthetic fragrances, and can cost quite a bit over time.
That’s where safe DIY toilet cleaner solutions come in. With just a few pantry staples and minimal effort, you can make toilet-cleaning tablets that are:
- Affordable: A single batch costs less than a cup of coffee.
- Safe: No toxic fumes or harsh chemicals.
- Eco-Friendly: Reduce plastic waste and chemical runoff.
- Customizable: Add scents and essential oils you actually like.
Plus, there’s something incredibly satisfying about cleaning your home with something you made yourself.
The Science Behind DIY Toilet Cleaners
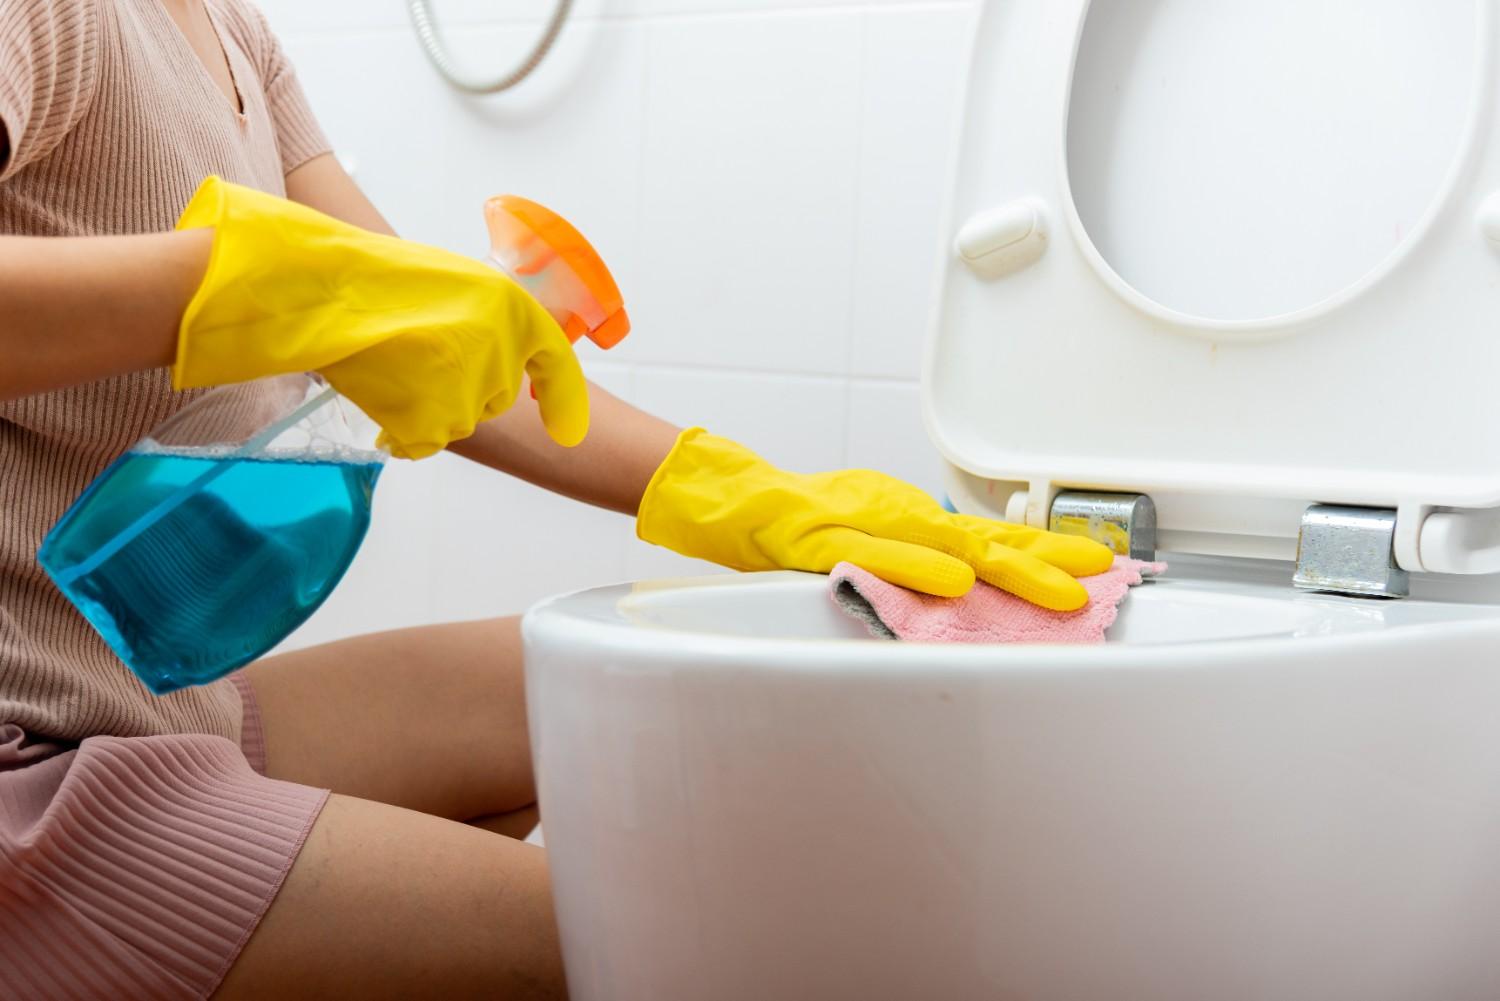
Before we jump into the recipe, it helps to understand why these simple ingredients work so well:
- Baking Soda (Sodium Bicarbonate): Acts as a gentle abrasive and natural deodorizer. It loosens grime and neutralizes odors.
- Citric Acid: Reacts with water to create fizzing bubbles that help lift stains and mineral deposits.
- Water or Vinegar: Activates the fizzing reaction and dissolves grime.
- Essential Oils (Optional): Add antimicrobial properties and a pleasant scent.
When combined, baking soda and citric acid create a chemical reaction that mimics the scrubbing power of commercial cleaners — without the chemicals.
How to Make Safe DIY Toilet Cleaner Tablets
You don’t need fancy tools or rare ingredients for this project. Everything you need is probably already in your kitchen.
Ingredients:
- 1 cup baking soda
- 1/4 cup citric acid
- Water in a spray bottle (or about 2 tablespoons of vinegar)
- 15–20 drops essential oil (optional)
- Silicone mold or ice cube tray
Step-by-Step Instructions:
1. Mix the Dry Ingredients
Start by combining the baking soda and citric acid in a glass or ceramic bowl. Avoid plastic or metal, as essential oils can corrode or stain them.
2. Add Essential Oils (Optional)
If you want a scented cleaner, now’s the time to add essential oils. Lemon and tea tree oils are both excellent choices because they smell fresh and offer natural antibacterial properties.
3. Slowly Add Water
Here’s where patience pays off. Lightly mist the dry mixture with water (or vinegar) using a spray bottle. Add a few sprays at a time and stir after each one. The goal is a crumbly texture that holds together when squeezed — not a wet paste.
4. Mold the Tablets
Scoop the mixture into your silicone mold or ice cube tray. Press it down firmly so the tablets hold their shape.
5. Let Them Harden
Leave the tablets to dry overnight. They’ll harden as they dry and become ready for use.
How to Use Your DIY Toilet Cleaner
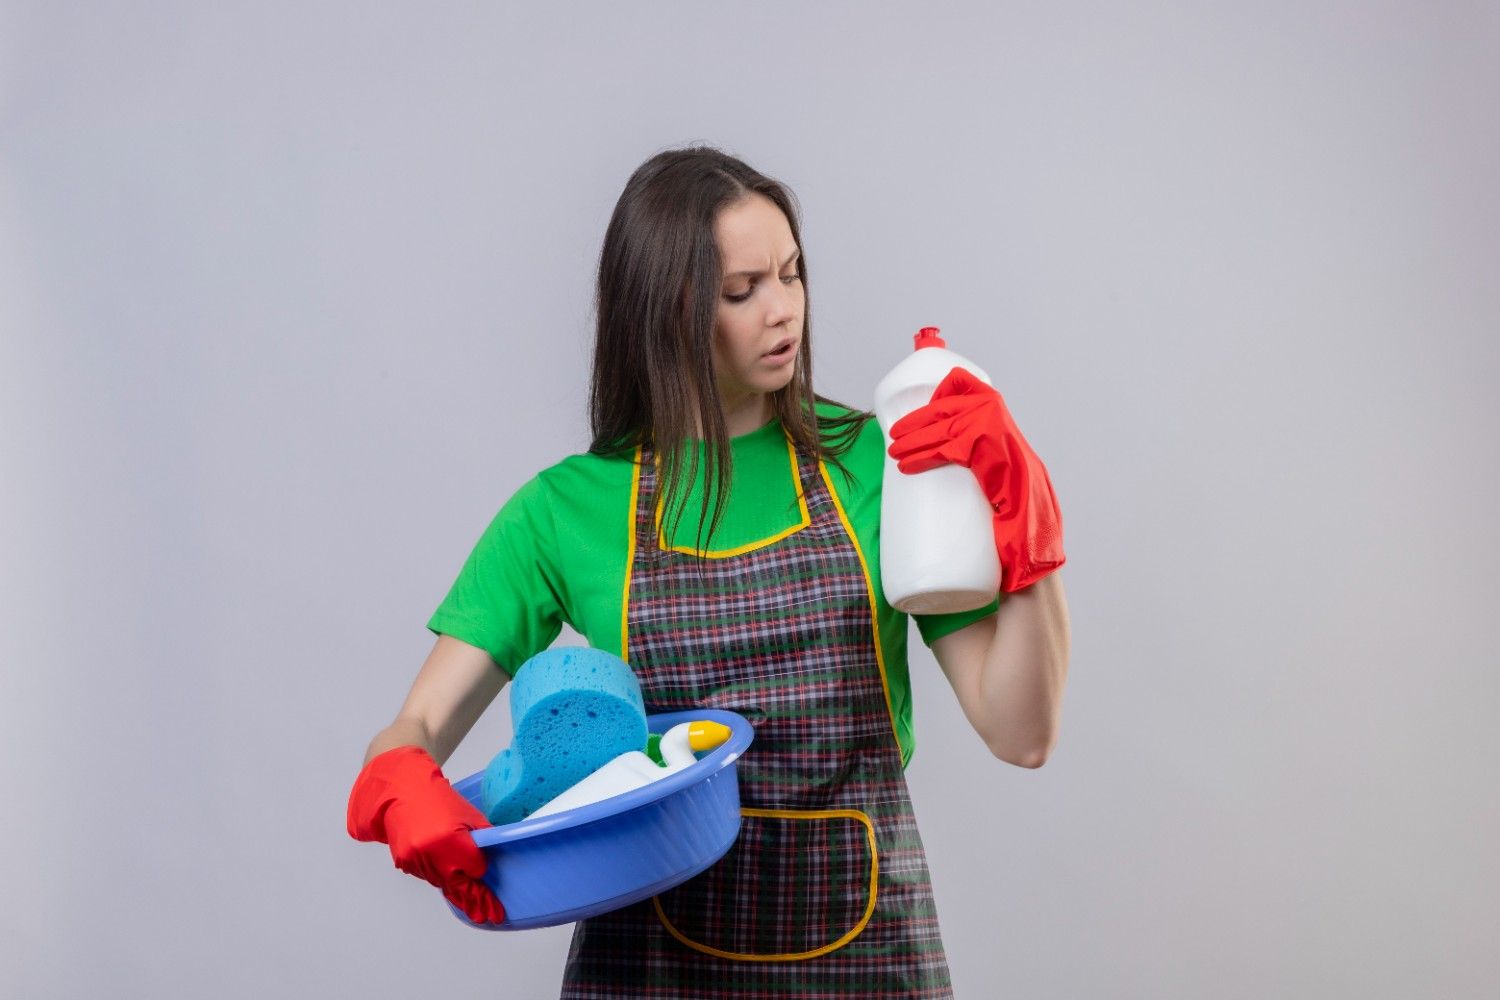
Using your new cleaning tablets couldn’t be easier:
- Drop one tablet into the toilet bowl.
- Wait for the fizzing reaction to finish (about 5–10 minutes).
- Scrub the bowl with a toilet brush.
- Flush and enjoy the fresh, clean results.
You’ll be amazed at how well these tablets handle tough stains, limescale, and odors — all without bleach or ammonia.
Quick Comparison: DIY vs. Store-Bought Toilet Cleaners
Here’s how a safe DIY toilet cleaner stacks up against commercial products:
| Feature | DIY Toilet Cleaner | Store-Bought Cleaner |
| Cost per use | $0.05 – $0.10 | $0.50 – $1.00 |
| Ingredients | Baking soda, citric acid, water, essential oils | Chemicals, bleach, synthetic fragrances |
| Safety | Non-toxic, safe for kids and pets | Can be harsh and irritating |
| Environmental impact | Minimal waste, eco-friendly | Plastic packaging, chemical runoff |
| Customization | Fully customizable scents and strength | Limited or none |
| Shelf Life | 3–4 months (airtight storage) | 6–12 months |
As you can see, DIY cleaners win in nearly every category except shelf life — and even that’s easy to manage with proper storage.
Storage Tips for Maximum Freshness
One of the most common mistakes people make with DIY cleaners is improper storage. Here’s how to make your tablets last:
- Use airtight containers: Moisture will activate the fizz prematurely, so keep them sealed.
- Store in a cool, dry place: A bathroom cabinet is fine if it’s not too humid.
- Label your jar: Note the date you made them — most tablets stay fresh for about 3–4 months.
If you live in a humid climate, consider adding a small silica gel packet to your storage container to absorb moisture.
Pro Tips to Make Your Cleaner Even Better
Here are a few expert tips I’ve learned after years of making my own cleaners:
- Experiment with essential oils: Try lavender for a calming scent or eucalyptus for extra antibacterial power.
- Add a bit of dish soap: A teaspoon of mild dish soap can boost cleaning power for stubborn stains.
- Use vinegar for extra fizz: If your water is hard, vinegar helps dissolve mineral deposits more effectively.
- Scale the recipe: Double or triple the recipe to make a large batch and safe time.
Common Mistakes to Avoid
Even though this process is simple, a few missteps can lead to wasted ingredients:
- Adding too much water: This can trigger fizzing too early, leaving your tablets weak.
- Not pressing the tablets firmly: Loose tablets can crumble instead of holding their shape.
- Skipping the drying time: Premature use can reduce their effectiveness.
- Using plastic bowls: Essential oils can damage or stain them — always use glass or ceramic.
Also Read: Natural kitchen cleaners
FAQs About Safe DIY Toilet Cleaner
1. How long do DIY toilet cleaner tablets last?
If stored properly in an airtight container, they usually last 3–4 months. Over time, their fizzing power may decrease, but they’ll still clean effectively.
2. Can I use these tablets in other drains or sinks?
Yes, but with caution. They work well in bathroom drains, but avoid using them in garbage disposals or narrow pipes where the fizz could trap debris.
3. Are DIY toilet cleaners safe for septic systems?
Absolutely. Since they’re free of harsh chemicals, they’re safe for septic tanks and won’t disrupt the natural bacterial balance.
4. Can I substitute citric acid with lemon juice?
Technically yes, but it’s not as effective. Lemon juice is less concentrated and adds moisture, which can cause premature fizzing.
The Smart Way to Clean: DIY Wins Every Time
In the end, switching to a safe DIY toilet cleaner isn’t just about saving a few dollars — it’s about taking control of what goes into your home, reducing environmental impact, and creating something that’s both powerful and safe.
Once you try these fizzing tablets, you might never go back to store-bought products again. They’re easy to make, inexpensive, and surprisingly effective. Plus, they’re a satisfying reminder that sometimes, the simplest solutions are the best.
So grab your baking soda and citric acid, roll up your sleeves, and give it a try. Your bathroom — and your wallet — will thank you.

