


I’ll admit something: spring cleaning the bathroom used to feel like a daunting weekend project. Between the built-up soap scum on the tub, the dusty light fixtures I’d ignored all winter, and the mystery spots behind the toilet, I never knew where to start. But once I learned how to tackle it step by step, it transformed from an overwhelming chore into one of the most satisfying resets of the season.
If you’re getting ready for a spring cleaning bathroom overhaul, this guide walks you through the process from start to finish — decluttering, deep cleaning, sanitizing, and restocking — all while keeping your space sparkling and healthy.
Why Deep Cleaning Your Bathroom in Spring Matters
Bathrooms are one of the most frequently used spaces in any home, and unfortunately, they’re also hotspots for germs, mold, and buildup. Over time, moisture creates ideal conditions for mildew, soap scum clings to tiles, and dust collects in vents and corners.
Spring cleaning isn’t just about making the bathroom look nice — it’s about stripping away layers of grime and bacteria, improving air quality, and setting the tone for a healthier home. Plus, nothing beats the feeling of stepping into a space that looks and smells as fresh as a spa.
Step 1: Prep the Space and Declutter First
A truly effective spring cleaning bathroom session starts long before you grab a sponge. It begins with clearing the clutter and setting up your space for success.
Air it out: Open a window and switch on the exhaust fan to improve ventilation. Good airflow helps prevent mildew and keeps cleaning fumes from lingering.
Remove everything: Take all items off counters, out of the shower, and from inside cabinets. As you go, sort your products into three categories — keep, toss, and replace. Throw out anything expired or unused, and set aside empty bottles to recycle.
Gather your supplies: Stock up on what you’ll need before diving in — all-purpose and glass cleaners, a toilet bowl cleaner, microfiber cloths, rubber gloves, scrub brushes, and a grout brush. Having everything ready keeps the process smooth and efficient.
Step 2: Work From the Top Down
Cleaning from the highest surfaces first and working downward is a pro move. It ensures that dust and debris don’t fall onto freshly cleaned areas later.
Tackle vents and light fixtures: Start by dusting ceiling corners, vents, and light fixtures with a microfiber cloth or vacuum brush attachment. Removing dust buildup improves air circulation and prevents future grime from sticking.
Wash shower curtains and liners: If you have a fabric curtain, toss it in the washing machine with mild detergent and a cup of white vinegar. For plastic liners, wipe them thoroughly or replace them if you notice mold.
Descale the showerhead: Fill a small plastic bag with equal parts white vinegar and water. Secure it around the showerhead with a rubber band and let it soak for a few hours. This dissolves mineral deposits and improves water flow.
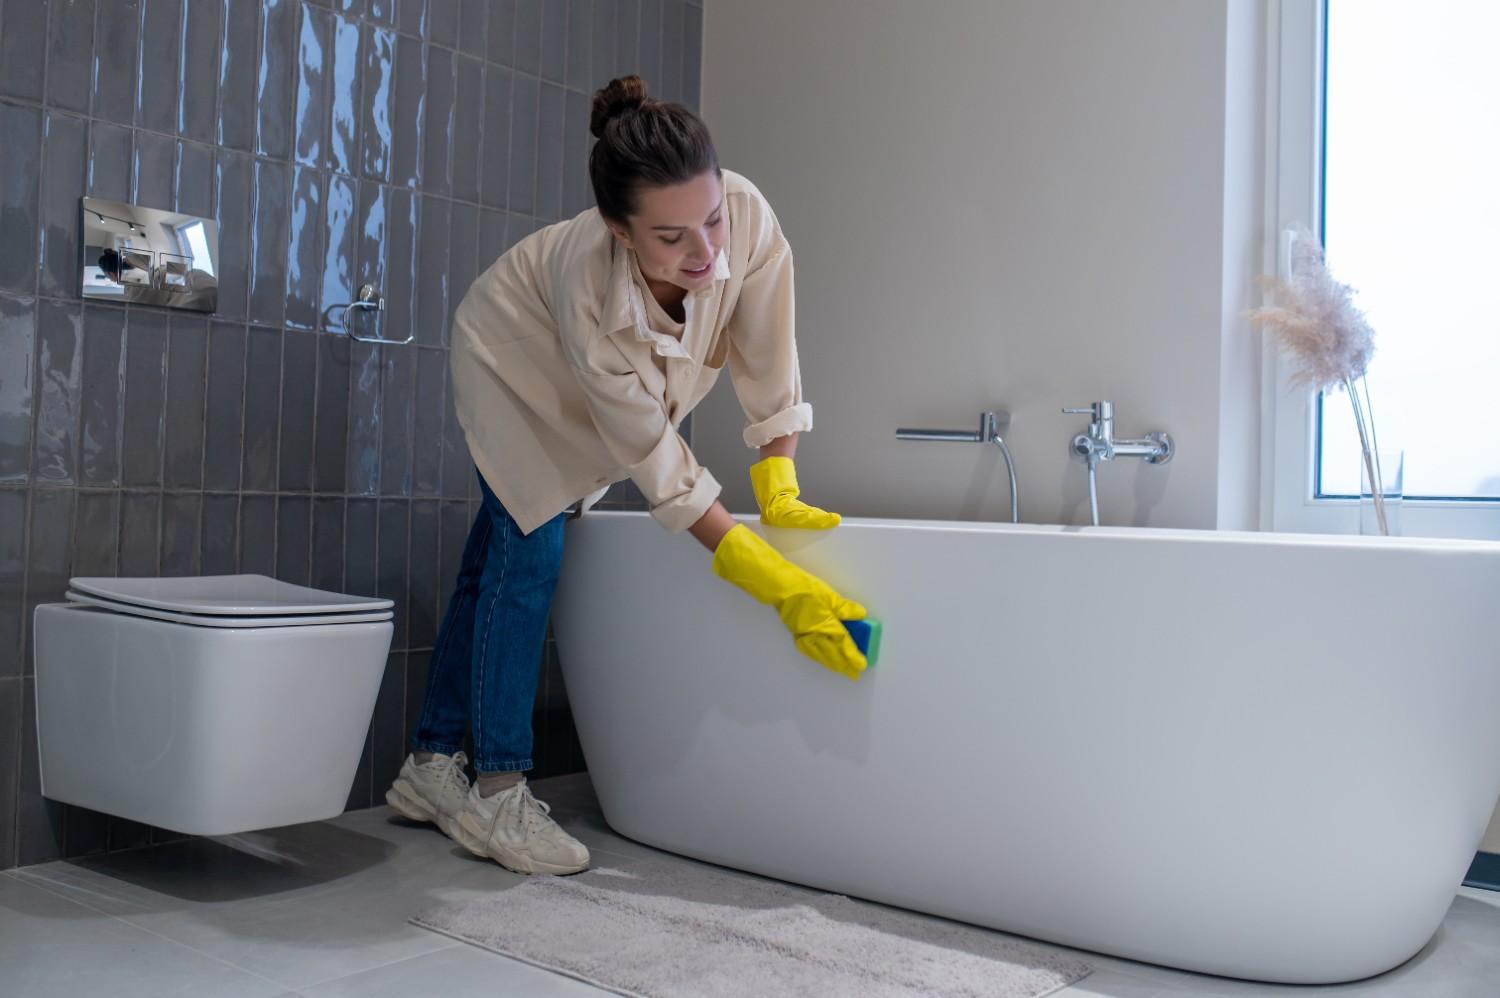
Step 3: Deep Clean Shower, Tub, and Walls
With the prep work out of the way, it’s time to focus on the biggest cleaning jobs — the ones that make the most noticeable difference.
Scrub the shower and tub: Spray walls, doors, and fixtures with a bathroom cleaner and let it sit for 5–10 minutes to loosen grime. For stubborn soap scum, make a paste of baking soda and water, apply it to trouble spots, and scrub with a non-abrasive sponge. Always rinse thoroughly to prevent residue.
Polish faucets and fixtures: Mineral deposits can dull metal finishes. Rubbing a half-lemon sprinkled with salt directly on fixtures helps break down buildup and restore shine naturally.
Clean tiles and grout: Mix baking soda and hydrogen peroxide into a thick paste and scrub grout lines with a stiff brush. For an eco-friendly deep clean, consider using a steam cleaner. It loosens grime without chemicals and helps brighten the grout.
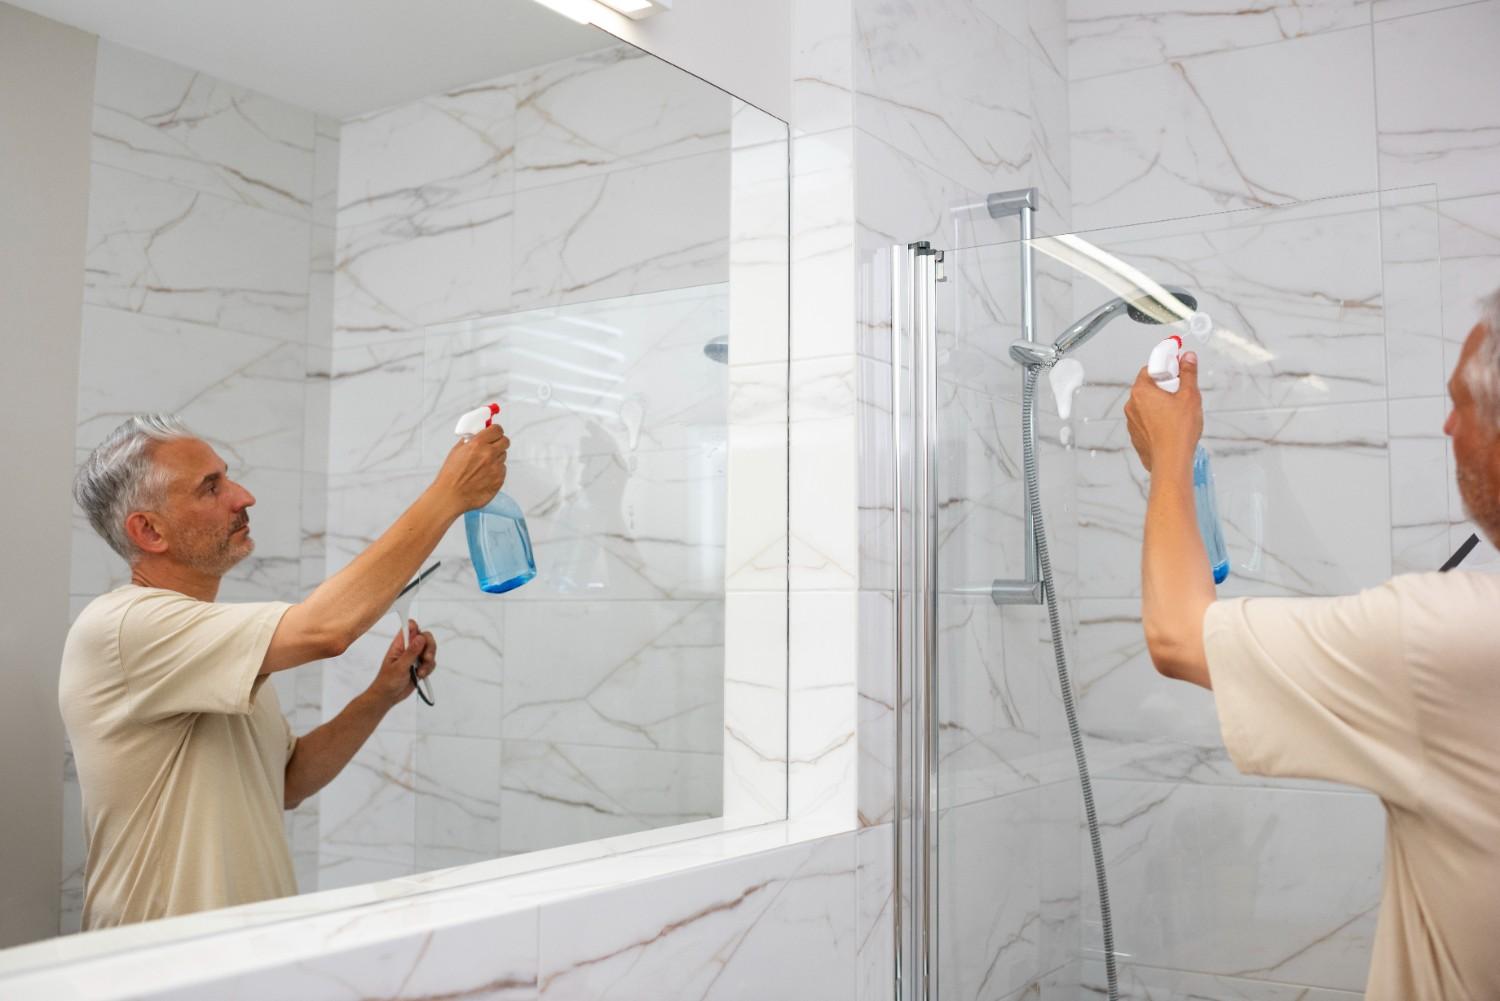
Step 4: Sanitize Sinks, Toilets, and Surfaces
Now it’s time to tackle the most high-touch and bacteria-prone areas.
Sink and vanity: Spray all surfaces with an all-purpose cleaner, including countertops, faucets, and the basin. Use an old toothbrush to scrub around drains and faucet handles. Wipe dry with a microfiber cloth to prevent water spots.
Mirrors: A 50/50 mix of vinegar and water works wonders for streak-free glass. Wipe in an “S” motion with a microfiber cloth for best results.
Toilet: Apply toilet bowl cleaner under the rim and let it sit while you clean the rest of the bathroom. Wipe down the seat, lid, tank, and base with a disinfectant. Then scrub the bowl thoroughly with a toilet brush and flush to finish.

Step 5: Finish Strong – Floors, Accessories, and Textiles
This is the final stretch of your spring cleaning bathroom routine — and it’s what brings the whole space together.
Floors: Start by sweeping or vacuuming up dust and hair. Then mop the floor with warm water and a mild cleaning solution, working from the farthest corner toward the door so you don’t track dirt onto wet surfaces.
Accessories and small items: Wipe down soap dishes, toothbrush holders, and cabinet handles. Bath toys? Toss them in the dishwasher for a thorough sanitize.
Textiles: Wash bath mats and towels in hot water to kill bacteria and refresh fibers. Don’t forget to replace them neatly once dry.
Trash can: Empty it, scrub the interior and exterior with disinfectant, and replace the liner.
Restock and organize: Finally, return your essentials to their proper spots. Store products you don’t use daily inside cabinets to keep surfaces clutter-free.
Pro Tips to Keep Your Bathroom Fresher for Longer
- Use a daily shower spray to prevent soap scum buildup.
- Run the exhaust fan for at least 20 minutes after showers to reduce moisture and mildew.
- Wipe down surfaces weekly to maintain your deep-clean results.
- Swap out bath mats and towels regularly for freshness and hygiene.
FAQs About Spring Cleaning the Bathroom
1. How often should I deep clean my bathroom?
Aim for a full deep clean every three to four months. Spring is the ideal time to do it, but if your bathroom sees heavy use, a lighter monthly clean can help prevent buildup and keep things fresh.
2. What’s the best way to clean stubborn grout stains?
A paste made from baking soda and hydrogen peroxide works well for most grout stains. Apply it, let it sit for about 10 minutes, then scrub with a grout brush. For very tough stains, steam cleaning is a safe and chemical-free alternative.
3. Can I use natural cleaners for the whole bathroom?
Absolutely. White vinegar, baking soda, and lemon juice are all effective for many surfaces and leave fewer chemical residues. Just check your fixtures and tiles first to ensure they’re safe for natural cleaning solutions.
4. How do I keep my showerhead from clogging with mineral deposits?
Regular descaling is key. Soak your showerhead in a vinegar and water mixture every few months to dissolve mineral buildup. If your water is very hard, consider installing a water softener to reduce future deposits.
The Freshest Reset Starts Here
Spring cleaning the bathroom doesn’t have to be overwhelming. By breaking the process into steps — decluttering, cleaning from top to bottom, scrubbing every surface, and finishing with thoughtful touches — you’ll end up with a space that feels brand new. This deep-cleaning approach removes hidden grime, bacteria, and buildup, giving you a healthier home and a more enjoyable daily routine.
Once you’re done, you might just find yourself lingering in your freshly cleaned bathroom a little longer — because nothing beats the feeling of starting and ending your day in a space that truly sparkles.